Shopping for your first mini split can make “easy installation” sound like a simple product feature. In practice, ease depends on the exact model, how its refrigerant lines connect, what electrical service it needs, and how comfortable you are drilling, mounting, and troubleshooting equipment. A system marketed as DIY-friendly can still require careful work—and a conventional flare-install system may be manageable for a capable homeowner with the right tools and help.
For a first time mini split install, Zone Air and MRCOOL are worth comparing because they may offer different approaches to installation and features. Senville is another common option, especially for shoppers comparing value-oriented systems. The important thing is to compare complete model specifications rather than assume that every unit from a brand installs the same way.
Quick takeaway: If your priority is avoiding refrigerant-line flaring, look closely at a compatible MRCOOL DIY model with its specified quick-connect kit. If you’re considering Zone Air or Senville, confirm whether the specific package uses standard flare connections or another connection system. And whichever brand you choose, budget for the electrical work, mounting, drainage, and local permit requirements—not just the indoor and outdoor units.
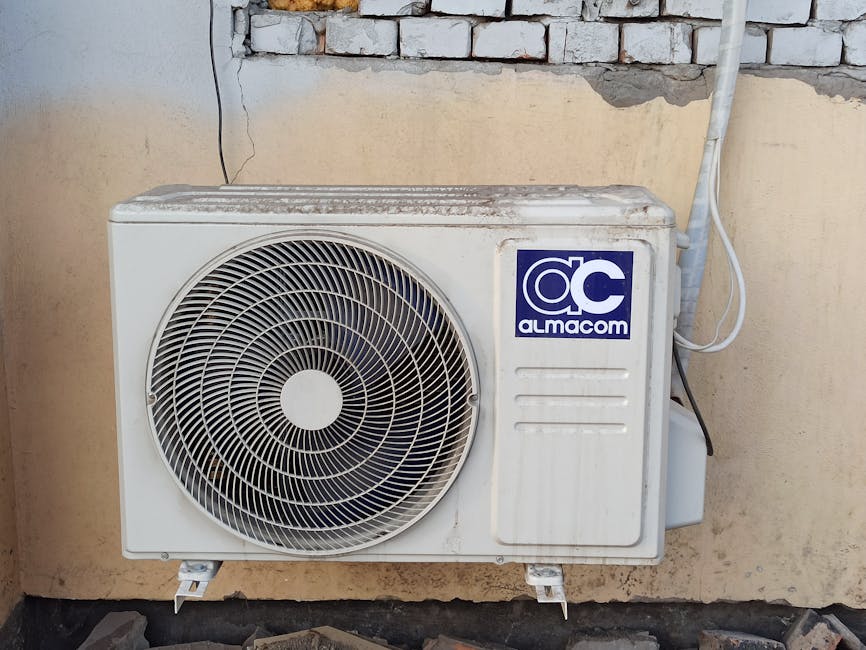
What “DIY” Really Means on a Mini Split
There are two separate questions behind the phrase “easy DIY mini split”: Can you physically install the equipment, and can you complete the refrigerant and electrical work correctly under the product instructions and local rules? The answer may differ by task and by location.
Many ductless systems use copper refrigerant lines with flare connections. The installer cuts and deburrs the tubing, forms a flare with a flaring tool, and tightens the connection to the manufacturer’s specifications. A poor flare, contaminated tubing, or incorrect torque can cause a leak. The system may then lose capacity, stop working, or need a repair that costs more than the tools would have.
Some MRCOOL DIY systems use a precharged quick connect line-set arrangement designed to avoid making a conventional flare at the installation site. That can remove a specialized step, but it doesn’t eliminate the need to handle the line set carefully, follow the exact connection procedure, protect the refrigerant lines, and check the finished installation for problems. Not every MRCOOL model uses the same connections, so verify that the line set and indoor and outdoor units are explicitly compatible.
Flare installations: More tools, more control
On a conventional flare system, the outdoor unit and indoor coil are connected through copper lines that the installer prepares and joins. Depending on the equipment and installation requirements, the work may involve a vacuum pump, manifold gauges, a suitable micron gauge, a flaring tool, a torque wrench, and leak-checking supplies. A vacuum pump and manifold gauges are not substitutes for knowing how to use them; the manufacturer’s evacuation and commissioning instructions still matter.
In some jurisdictions, refrigerant work or certain parts of an installation may be restricted to qualified or licensed professionals. Check local requirements before buying a system. Also check the warranty terms: a manufacturer may specify who can perform particular work or what documentation is required.
Quick connects: Fewer specialized steps, not zero installation work
A quick-connect system can make a first installation less intimidating because it may avoid field flaring and some of the conventional refrigerant-handling steps. You still need to route and support the lines without kinking them, make the connection correctly, install the indoor and outdoor units securely, arrange condensate drainage, and complete any required electrical work. If a connection is damaged or improperly made, “DIY” doesn’t make the resulting refrigerant problem go away.
Before choosing a kit, confirm the line-set length, connection type, included accessories, and whether the package needs adapters or other parts. Don’t assume that a line set advertised as precharged will fit a different series or brand.
Zone Air vs. MRCOOL: Comparing Value and Features
Brand names are a starting point, not a complete specification. Compare the exact model numbers and included components: cooling and heating capacity, efficiency ratings, operating temperature range, line-set connection type, electrical requirements, warranty, and included controls. Installation difficulty can vary within a brand’s lineup.
For a price reference, Zone Air 12,000 BTU single zone typical price: ~$1,999 direct. That example can help with early budgeting, but it is not a guaranteed current https://tessatopmaid.com/is-a-concealed-ducted-mini-split-worth-it-for-a-cleaner-look/ quote or a complete installed cost. Shipping, accessories, electrical work, mounting supplies, permits, and changes to the scope can affect the final total.
What to compare Zone Air MRCOOL Why it matters Connection method Check the specific model and kit; confirm whether it uses standard flares or another connection type. Some DIY models are designed around precharged quick-connect line sets; verify the exact compatible kit. The connection method is a major factor in tools, skill, and installation steps. Electrical supply Read the nameplate and installation manual for the exact voltage and circuit requirements. Requirements vary by model and capacity; confirm the circuit and disconnect specifications. A convenient outlet does not guarantee the unit can use it safely or legally. Cold-weather performance Check the model’s published heating range and capacity data. Check the same data for the exact series and size. Operating limits and delivered heat are not the same thing. Price and included parts Confirm what the advertised price includes, such as line set, bracket, and controls. Compare the full package and any required accessories. A lower equipment price may not mean a lower project cost.MRCOOL’s DIY positioning is especially relevant if avoiding field flares is your main goal. But don’t choose solely on the word “DIY”: compare the installation manual, line-set options, warranty terms, and electrical requirements for the exact model you’re considering.
Zone Air may appeal to shoppers who want to compare direct pricing and available system options. Use the quoted ~$1,999 direct example as a starting point, then verify current price and package contents. If you’re also considering Senville, apply the same checklist. A system’s brand reputation or low advertised price can’t tell you whether its connections, heating performance, or electrical needs fit your home.
Cold-Climate Ratings: Look Beyond the Lowest Operating Temperature
A mini split’s advertised ability to run at a low outdoor temperature does not tell you how much heat it will deliver at that temperature. Heating capacity generally drops as outdoor conditions get colder, though the size of the drop varies by model. Defrost cycles can also affect comfort and average heat delivery in cold, damp weather.
For a cold-climate installation, look for the manufacturer’s capacity data at several outdoor temperatures—not just a minimum operating-temperature claim. Compare the heating capacity at the temperature that matters for your area with the heating load of the room or space. A system that runs at a very low temperature may still need supplemental heat if its output falls below the home’s demand.
- Check the published heating capacity at relevant outdoor temperatures. Review the model’s low-ambient heating range and any operating limitations. Confirm the unit is sized for the actual space and insulation level, not just square footage. Ask how defrost operation and supplemental heat fit into your winter plan.
Don’t assume that a 12,000 BTU label means the unit will deliver 12,000 BTU of heat in every condition. Capacity depends on operating conditions, and the product’s performance tables are more useful than a single headline number. This applies whether you buy Zone Air, MRCOOL, Senville, or another manufacturer.
115V Plug-In Convenience vs. 230V Hardwire Costs
A 115V model can be appealing when it is genuinely designed for the available electrical supply and the installation instructions allow the intended connection. Some systems may use a plug, while others still require a dedicated circuit or a particular disconnect arrangement. Check the nameplate and manual; don’t infer the required wiring from the voltage alone.
A 230V system often requires a dedicated branch circuit and a disconnect near the outdoor unit. If there is no suitable circuit, an electrician may need to run one from the panel. The cost depends on distance, access, panel capacity, local code, and the work required. A 115V option may reduce electrical work in some homes, but only https://lilyluxemaids.com/zone-air-vs-mrcool-for-a-garage-which-one-helps-you-avoid-new-breaker-costs/ if the existing circuit is appropriate and the equipment is approved for that setup.
Before buying, identify the electrical requirements for the exact indoor/outdoor combination. The manual should specify voltage, minimum circuit ampacity, maximum overcurrent protection, and other installation details. Have a qualified electrician assess the site if you are unsure. Do not use an extension cord or an undersized circuit to make a unit “plug in.”
Which Is Easier for a First-Time Installer?
Choose a quick-connect model if refrigerant connections are your main concern
If you want to avoid making field flares, a compatible MRCOOL DIY system may be the more approachable choice—provided the exact model includes the connection system you expect and the rest of the installation fits your abilities. Read its installation manual from start to finish before ordering. Pay particular attention to line-set routing, connection steps, electrical work, drainage, mounting, and warranty requirements.
Choose a conventional flare system if you have the skills or professional support
A flare-install system can be a good fit if you already have refrigeration experience, have access to the right tools, or plan to hire a qualified HVAC professional for the refrigerant work. Don’t buy a standard flare system expecting it to be a no-special-tools project. A vacuum pump and manifold gauges may be part of the commissioning process, and correct setup takes more than owning the equipment.
Choose by the whole job, not the easiest advertised feature
For many first-timers, the hardest parts are not just the refrigerant connections. They include choosing the right capacity, drilling through the wall safely, mounting the indoor head level, securing the outdoor unit, keeping the condensate drain flowing, and planning the electrical supply. A helpful friend, careful measurement, and a complete bill of materials can make more difference than a small difference in product packaging.
A Practical Pre-Buy Checklist
Confirm the exact model numbers. Match the indoor unit, outdoor unit, and any line set or accessory kit. Read the installation manual. Check the required tools, connection process, clearances, line limits, and startup procedure. Verify electrical requirements. Compare the unit’s specifications with your panel and available circuits; get an electrician’s assessment when needed. Check heating performance. Review capacity at your local winter design conditions, not only the lowest stated operating temperature. Plan the physical installation. Measure the wall penetration, line route, outdoor-unit location, service clearances, and condensate drain path. Price the full project. Include mounting hardware, line-set covers, electrical work, permits, tools, shipping, and any required professional labor. Confirm warranty and local rules. Ask what installation steps must be completed by a qualified professional and what records you should keep.Bottom Line
For a first time mini split install, MRCOOL may be easier when you choose a model built around a compatible precharged quick connect system and want to avoid field flaring. That does not mean every installation is plug-and-play, or that electrical and mechanical work can be skipped.
Zone Air’s example price— 12,000 BTU single zone typical price: ~$1,999 direct—is a useful budget reference, but compare its exact model specifications and included parts with MRCOOL and Senville options. If the system you prefer uses standard flares, plan for the required skills, tools, and commissioning steps, including a vacuum pump and manifold gauges where specified.
The easiest system is ultimately the one that matches your electrical service, climate, installation skills, and budget. Read the model-specific manual before purchasing, verify the cold-weather capacity you actually need, and bring in a qualified electrician or HVAC professional for work outside your experience or local permissions.